ATCS User Manual
Posted: Sun Dec 31, 2017 11:09 am
ATCS User Manual
This guide will help you install and configure Andor's Trail Content Studio (aka ATCS) on your computer, and create some content.
Downloads
You will need a bunch of files from the internet:
If you get a reply saying that you have a Java version superior to 7, you're good to go.
Otherwise, head to http://java.oracle.com, and download the latest Java Runtime Environment Standard Edition for your system.
They tend to change slightly the wording, or what gets acronymized, so you may need to look for the following:
- Java SE Runtime Environment
- JRE Standard Edition
- J2RE SE
- Java SE JRE
What you need is the most downloaded item, so it shouldn't be hard to locate.
Once downloaded, install it.
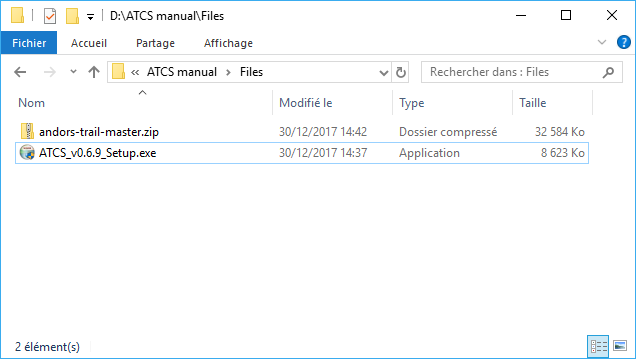
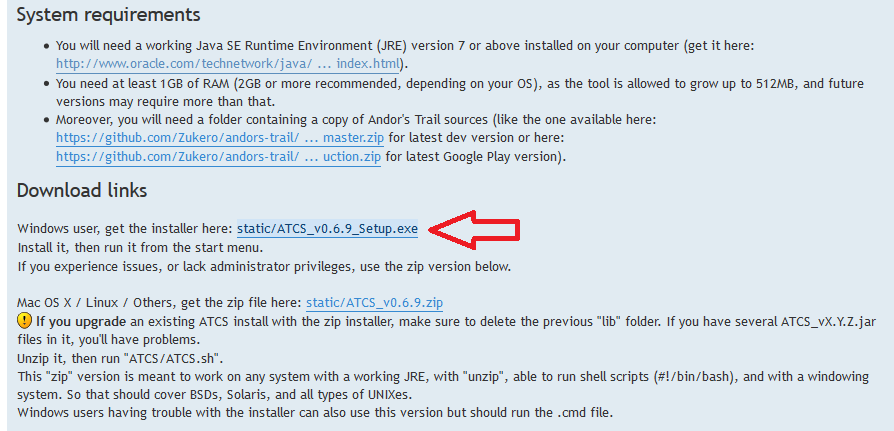
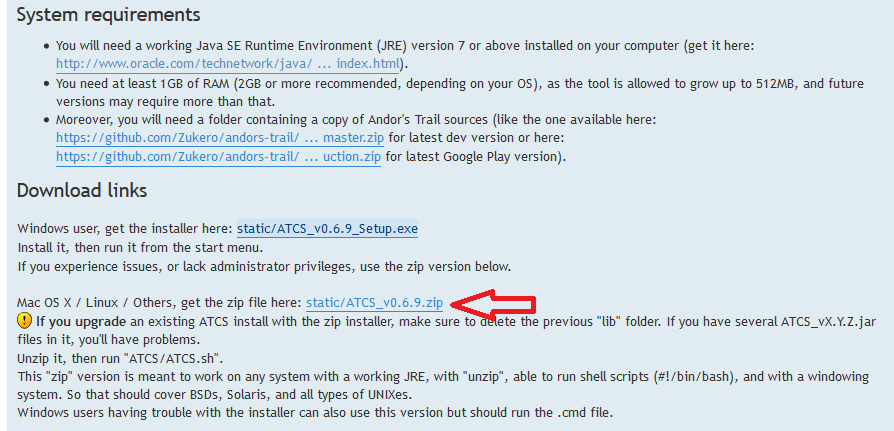
For ATCS, make sure to grab the latest release from the dedicated topic. There are two versions:
- If you are using your own windows computer, use this link:
- In all other cases (windows without admin rights, MacOS, Linux, Unix, BSD...), use this one:
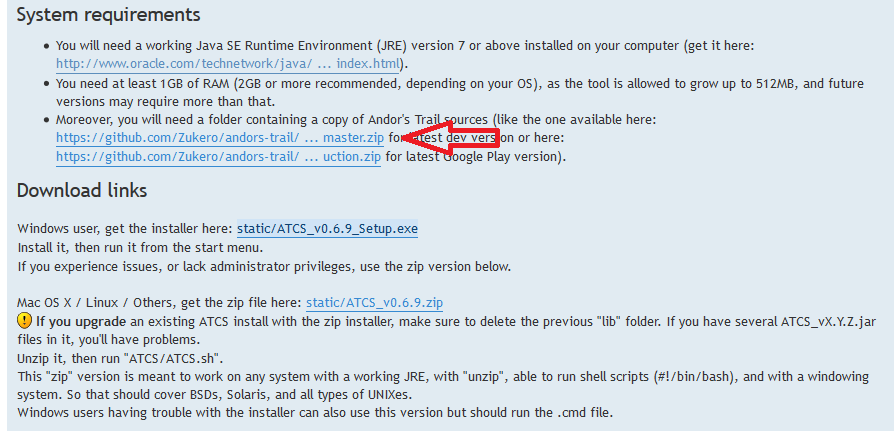
For the source code of the game, don't be afraid, you won't even have to look at it.
Note that you can use several different copies of the source code, depending on what you want to build your content from, but we'll cover this later.
You have three options to retrieve a copy of the source code:
Installation
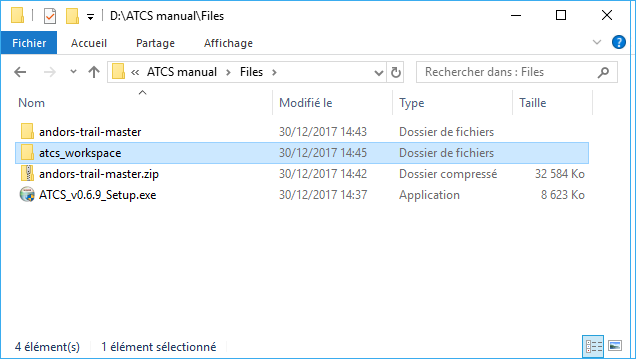
The first thing is to create an empty folder to serve as ATCS' workspace.
The workspace is the folder where ATCS will store all working data. Every project you create, every setting you change, is saved in the workspace.
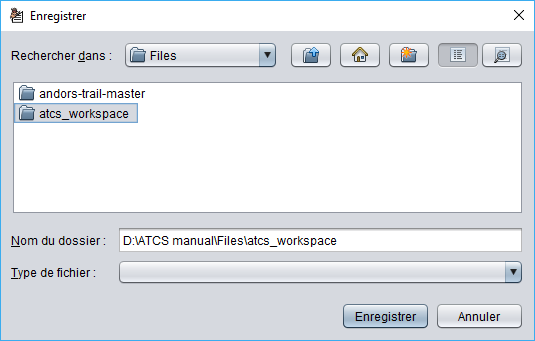
I suggest creating an empty folder named "atcs_workspace".
Then, if you didn't go the Git way to get the game sources, extract the contents of the zip file you downloaded. If you are using 7-zip on windows, I recommend using the "Extract to andors-trail-master/" option, as it will create a folder named after the zip file to contain all the contents of the zip.
You should end up with a folder like this:
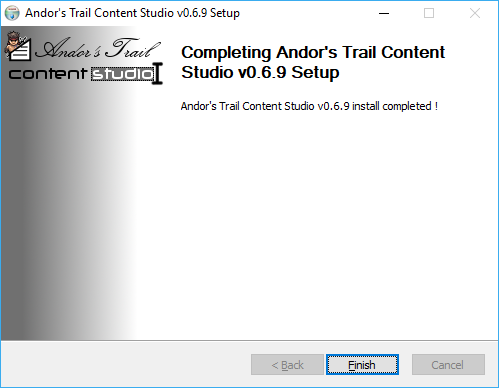
Now, if you downloaded the Windows installer release of ATCS, start the ATCS installer (ATCS_vX.Y.Z_setup.exe).
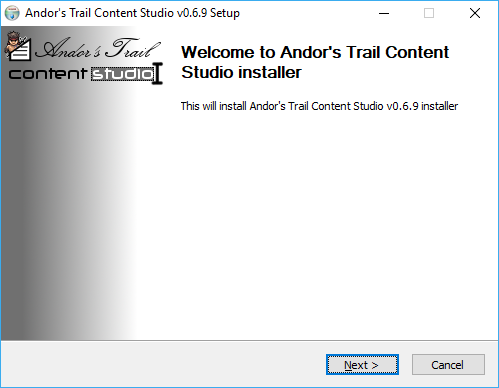
Install it as you would for any software (Next, next, next... eventually change the installation folder...).
If you downloaded the "zip file" release of ATCS, just unzip it in an ATCS folder, and, depending on your OS, you may also need to mark some files as executables (the ATCS.sh file at least, but maybe the whole folder).
First launch & configuration
Important. For the first launch on windows, I strongly suggest running ATCS as Administrator. You may need a similar action on other systems depending on where you installed ATCS. The startup script will attempt to create ATCS.env.bat (on windows) or ATCS.env.sh (everywhere else) in the installation folder. This file is not necessary, but can help you customize the startup of ATCS in a way that is preserved upon upgrading ATCS.
You can close ATCS as soon as it started, and relaunch it as a standard user if you wish.
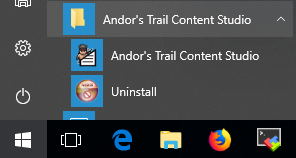
You can launch ATCS from the start menu:
Alternatively, you can run the ATCS.cmd (Windows) or ATCS.sh (Linux, MacOS, BSD, Unix...) located at the root of the installation folder of ATCS.
When run, ATCS will ask you for the workspace to use:
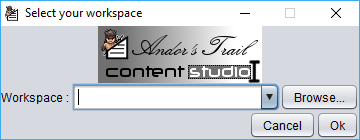
Use the "Browse..." button to select the empty folder you created earlier:
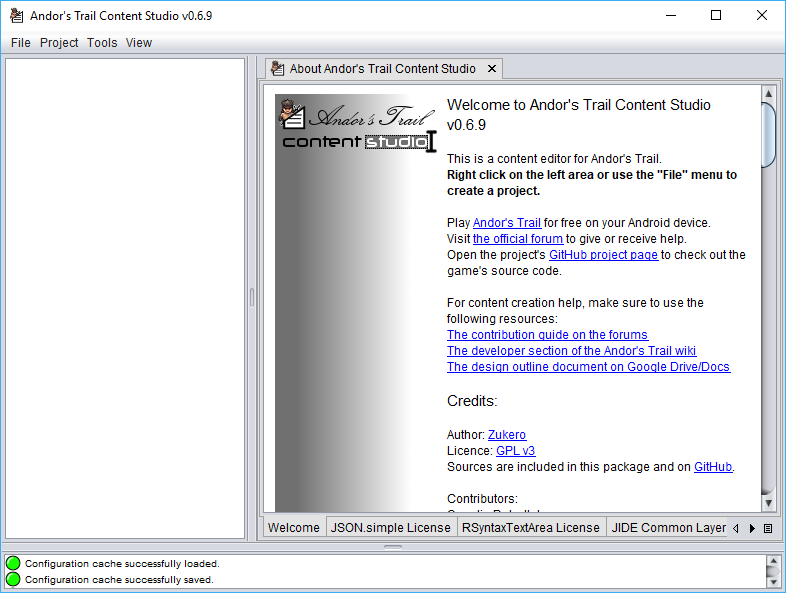
Click "Ok" to start ATCS. The window will first appear like this:
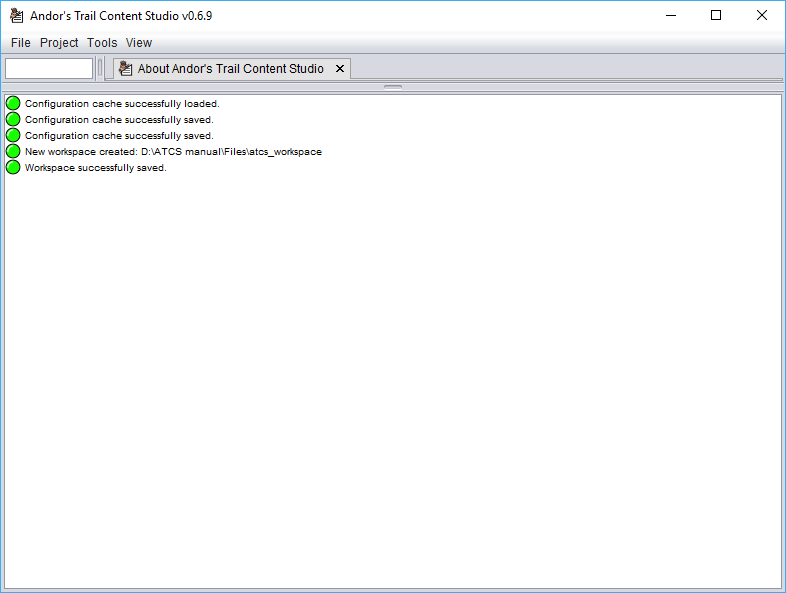
This is ugly. Drag the bars within the window to resize the different areas to your liking. ATCS normally remembers every change you make to its UI dimensions, and will restore the window dimensions at the next launch.
To ease further explanations, here are the different areas of the ATCS UI:
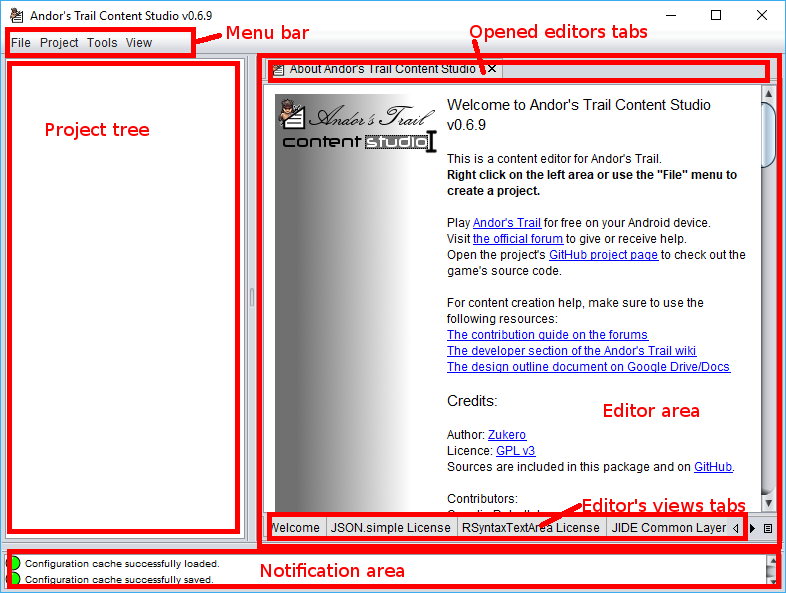
The notification area at the bottom is of little interest generally. I've been a bit too lazy in the code to make as useful as it should.
The menu bar at the top gives you access to all actions in the tool.
The project tree at the left is where you'll browse your projects and the game source. The right-click menu in the project tree gives you access to most actions you can find in the menu bar, showing only items relevant to your current selection in the project tree.
The editor area on the right is where you'll view and edit all game data. The tabs at the top let you switch between opened editors, and close the ones you don't need. The tabs at the bottom give you access to the different views offered by a single editor.
Let's configure ATCS to your liking by using the menu bar to reach the "File->Edit workspace settings..." menu item.
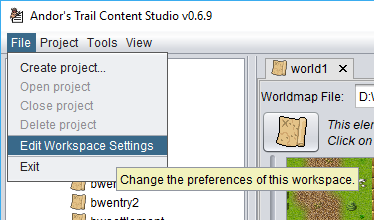
You'll be presented with the following dialog:
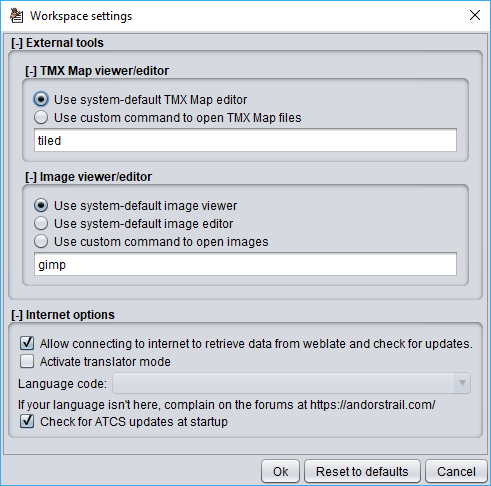
This will let you modify the way ATCS can launch an external tool to edit TMX maps (you'll most certainly want Tiled there) and an image viewer/editor.
The second part lets you prevent ATCS from connecting to the internet, or enable the translator mode (weblate integration) and version checking at startup.
Create a project
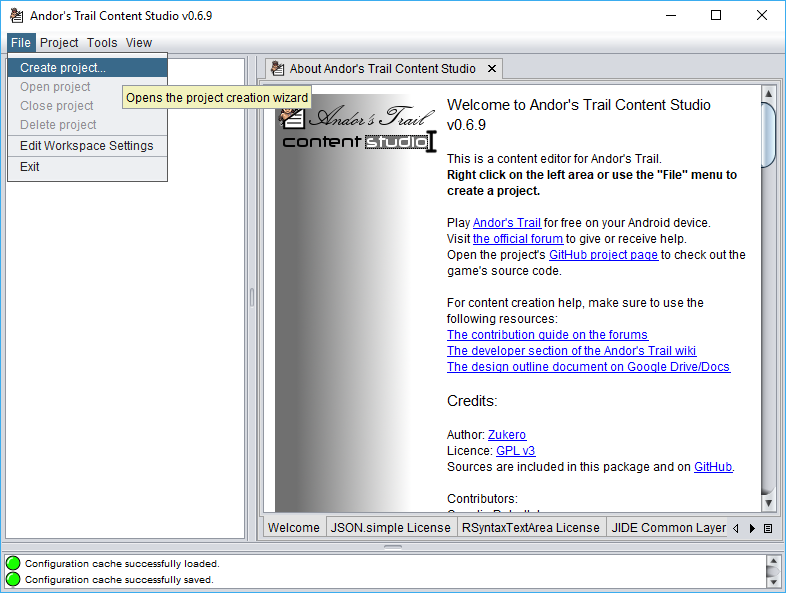
Let's try to do something useful now. Create your first project by using the "File->Create project..." menu item:
You need to enter the following information:
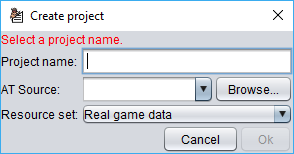
For the project name, make it meaningful, but please use only lowercase characters and underscores. For example, "dark_shadow_castle". I generally create one called "source_explore" only to browse the game content, and not create anything.
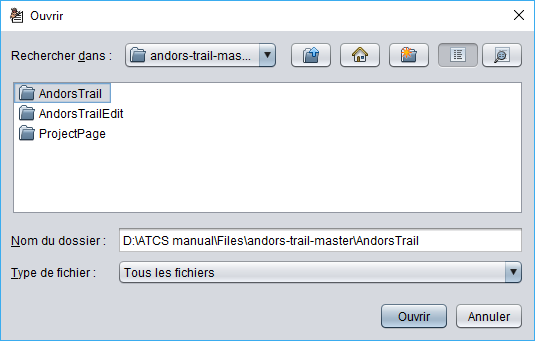
For the "AT Source" entry, use the "Browse..." button to reach the "AndorsTrail" subfolder of the downloaded game source:
The project creation wizard will confirm that everything looks good: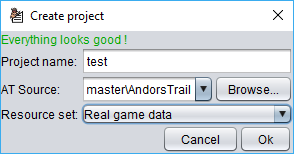
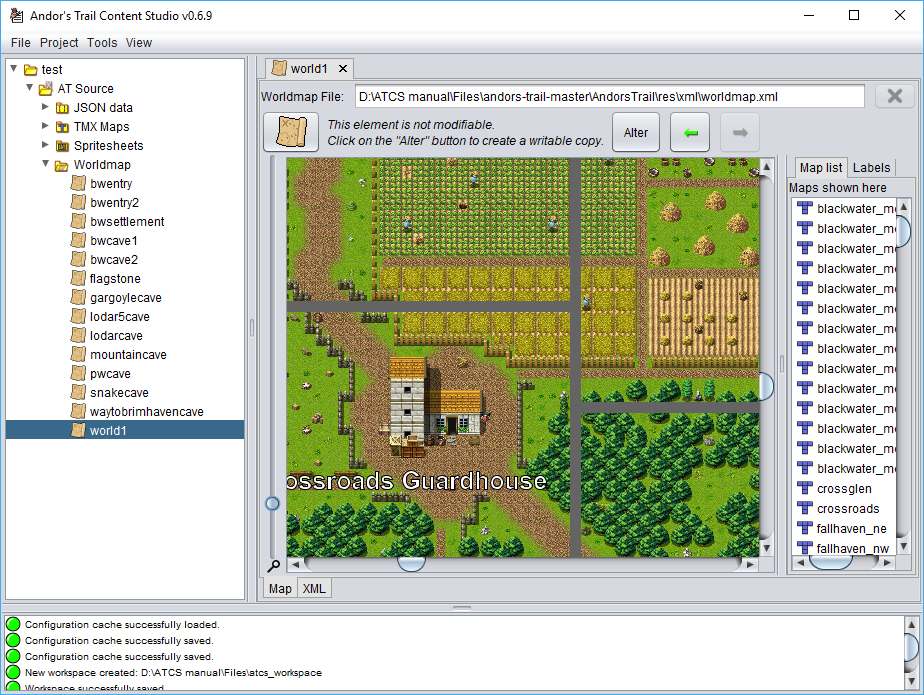
Press OK to create the project. It will load the game source data, which may take a while. You can now use the project tree to browse through the existing content.
Translator mode
In the workspace settings, if you allowed internet access and chose a language for translator mode, ATCS will help you review and edit translations on weblate.
Every translatable content text will be complemented by a translation bar below:
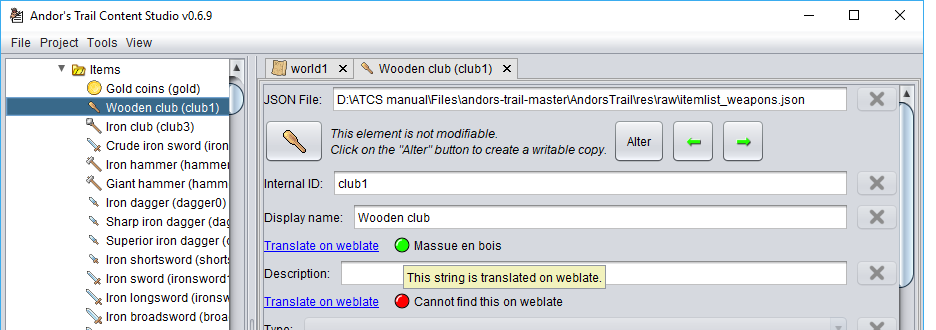
You can see, left to right, a link to weblate, a status indicator (red, orange, green, or blue) and the current translation on weblate for this text.
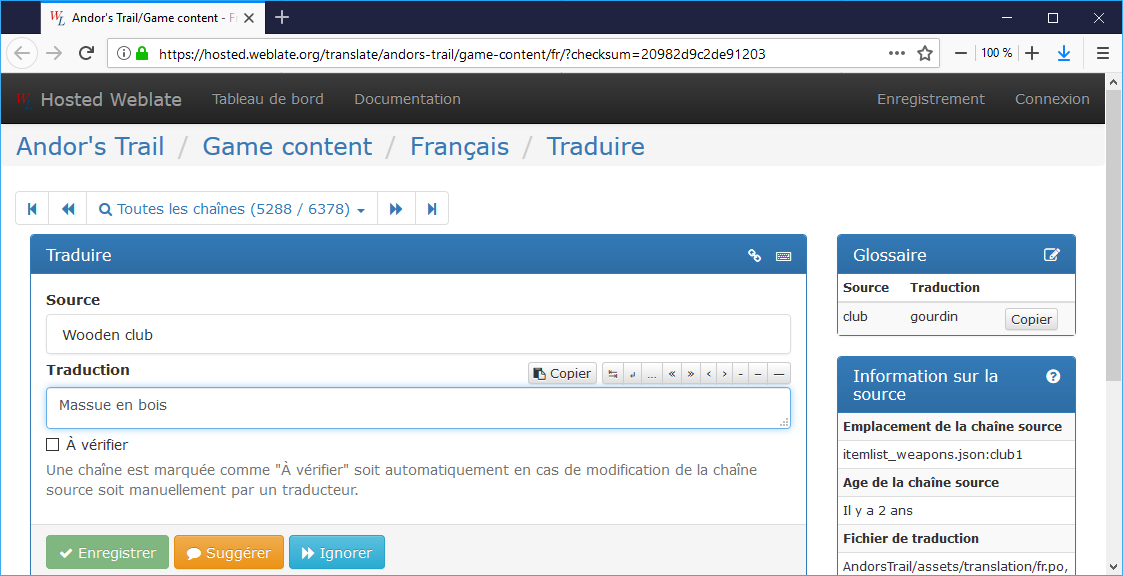
The weblate link will take you directly to the desired page:
The status indicator will also display a tool tip when you hover your mouse over it. It will give you additional information on the status of the translation. Mostly useful when the status is orange or blue.
This guide will help you install and configure Andor's Trail Content Studio (aka ATCS) on your computer, and create some content.
Downloads
You will need a bunch of files from the internet:
- A Java Runtime Environment version 7 at least.
- An ATCS release from here.
- The source code of the game.
- An archive manager like 7-zip
- A good text file editor like Notepad++
- The Tiled map editor
- An image editor like GIMP
Code: Select all
java.exe -versionOtherwise, head to http://java.oracle.com, and download the latest Java Runtime Environment Standard Edition
They tend to change slightly the wording, or what gets acronymized, so you may need to look for the following:
- Java SE Runtime Environment
- JRE Standard Edition
- J2RE SE
- Java SE JRE
What you need is the most downloaded item, so it shouldn't be hard to locate.
Once downloaded, install it.
For ATCS, make sure to grab the latest release from the dedicated topic. There are two versions:
- If you are using your own windows computer, use this link:
Note that you can use several different copies of the source code, depending on what you want to build your content from, but we'll cover this later.
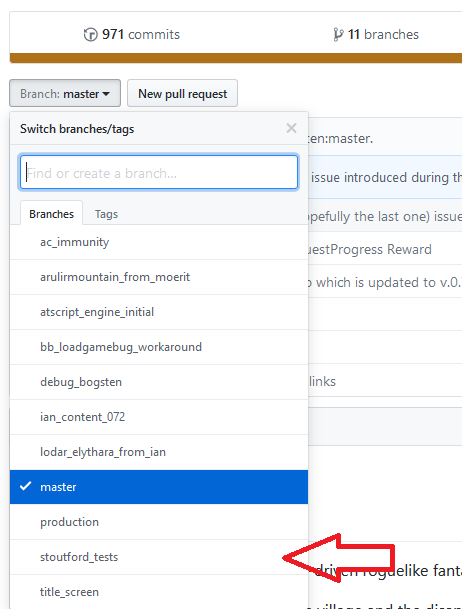
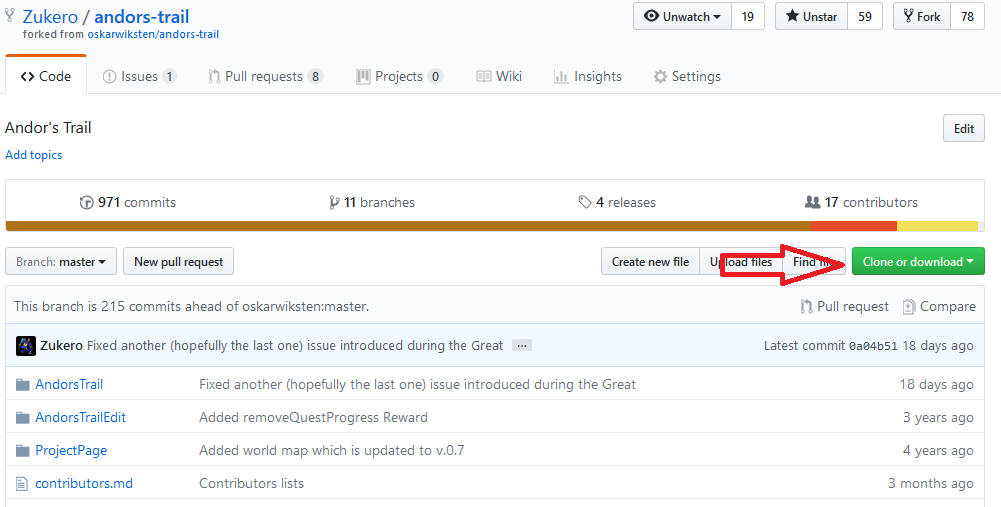
You have three options to retrieve a copy of the source code:
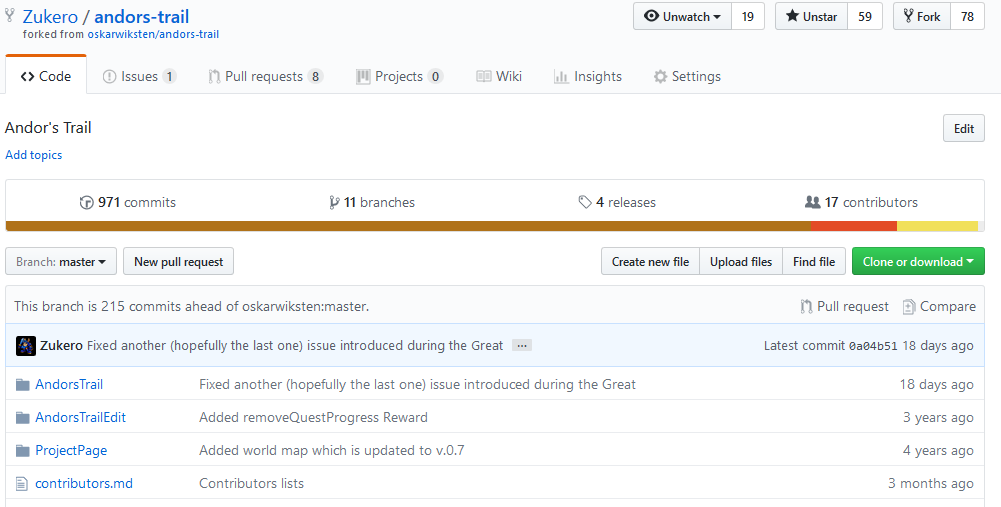
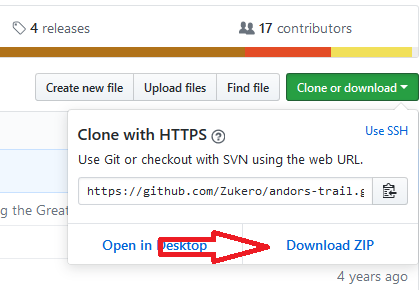
- The best way is to use Git to clone my github repo at https://github.com/Zukero/andors-trail.git . If you don't know what this means, you can either learn about Git somewhere else (like by reading the free and awesome Pro Git Book), or try the next option.
- Quickly grab a zip of the latest version of the main development branch from the link in the ATCS topic:
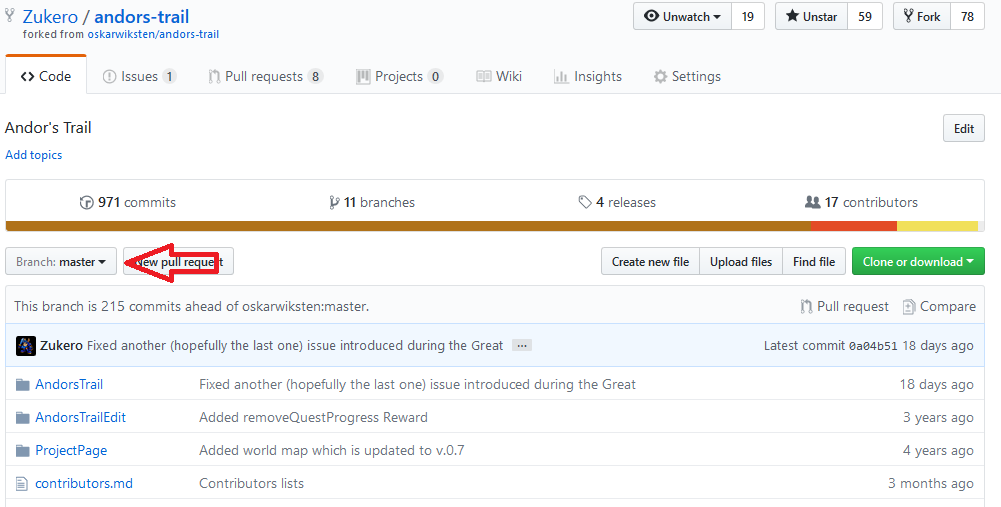
- Grab a zip of any branch from github.
Installation
The first thing is to create an empty folder to serve as ATCS' workspace.
The workspace is the folder where ATCS will store all working data. Every project you create, every setting you change, is saved in the workspace.
I suggest creating an empty folder named "atcs_workspace".
Then, if you didn't go the Git way to get the game sources, extract the contents of the zip file you downloaded. If you are using 7-zip on windows, I recommend using the "Extract to andors-trail-master/" option, as it will create a folder named after the zip file to contain all the contents of the zip.
You should end up with a folder like this:
Now, if you downloaded the Windows installer release of ATCS, start the ATCS installer (ATCS_vX.Y.Z_setup.exe).
Install it as you would for any software (Next, next, next... eventually change the installation folder...).
If you downloaded the "zip file" release of ATCS, just unzip it in an ATCS folder, and, depending on your OS, you may also need to mark some files as executables (the ATCS.sh file at least, but maybe the whole folder).
First launch & configuration
You can close ATCS as soon as it started, and relaunch it as a standard user if you wish.
You can launch ATCS from the start menu:
Alternatively, you can run the ATCS.cmd (Windows) or ATCS.sh (Linux, MacOS, BSD, Unix...) located at the root of the installation folder of ATCS.
When run, ATCS will ask you for the workspace to use:
Use the "Browse..." button to select the empty folder you created earlier:
Click "Ok" to start ATCS. The window will first appear like this:
This is ugly. Drag the bars within the window to resize the different areas to your liking. ATCS normally remembers every change you make to its UI dimensions, and will restore the window dimensions at the next launch.
To ease further explanations, here are the different areas of the ATCS UI:
The notification area at the bottom is of little interest generally. I've been a bit too lazy in the code to make as useful as it should.
The menu bar at the top gives you access to all actions in the tool.
The project tree at the left is where you'll browse your projects and the game source. The right-click menu in the project tree gives you access to most actions you can find in the menu bar, showing only items relevant to your current selection in the project tree.
The editor area on the right is where you'll view and edit all game data. The tabs at the top let you switch between opened editors, and close the ones you don't need. The tabs at the bottom give you access to the different views offered by a single editor.
Let's configure ATCS to your liking by using the menu bar to reach the "File->Edit workspace settings..." menu item.
You'll be presented with the following dialog:
This will let you modify the way ATCS can launch an external tool to edit TMX maps (you'll most certainly want Tiled there) and an image viewer/editor.
The second part lets you prevent ATCS from connecting to the internet, or enable the translator mode (weblate integration) and version checking at startup.
Create a project
Let's try to do something useful now. Create your first project by using the "File->Create project..." menu item:
You need to enter the following information:
For the project name, make it meaningful, but please use only lowercase characters and underscores. For example, "dark_shadow_castle". I generally create one called "source_explore" only to browse the game content, and not create anything.
For the "AT Source" entry, use the "Browse..." button to reach the "AndorsTrail" subfolder of the downloaded game source:
The project creation wizard will confirm that everything looks good:
Press OK to create the project. It will load the game source data, which may take a while. You can now use the project tree to browse through the existing content.
Translator mode
In the workspace settings, if you allowed internet access and chose a language for translator mode, ATCS will help you review and edit translations on weblate.
Every translatable content text will be complemented by a translation bar below:
You can see, left to right, a link to weblate, a status indicator (red, orange, green, or blue) and the current translation on weblate for this text.
The weblate link will take you directly to the desired page:
The status indicator will also display a tool tip when you hover your mouse over it. It will give you additional information on the status of the translation. Mostly useful when the status is orange or blue.